Step 1: Choosing the Right Camera
Description: Pick a camera that excels in low-light photography
The camera is your foundation. For astrophotography, you want full-frame sensors because they perform exceptionally well in low-light conditions. Here are my top picks:
- Canon EOS R5/R6 – Excellent noise control, 4K time-lapse capability
- Nikon Z6 II – Superb dynamic range and excellent low-light performance
- Sony A7S III – Legendary for night photography with incredible ISO performance
For beginners on a budget, the Canon EOS RP or Sony A7 III are also fantastic options. Avoid cameras with small sensors; they struggle to capture faint stars.
Step 2: Selecting the Perfect Lens
Description: Wide and fast lenses reveal the Milky Way
Lens choice is critical. For astrophotography:
- Wide-angle lens (14–24mm) for capturing the Milky Way or nightscapes
- Fast aperture (f/2.8 or lower) to let in more light
- High-quality glass to avoid star distortion at edges
Recommended lenses:
- Sigma 14-24mm f/2.8 – Sharp and versatile
- Rokinon 14mm f/2.8 – Affordable manual focus lens, perfect for beginners
- Canon RF 15-35mm f/2.8 – Excellent for Canon mirrorless users
Step 3: Choosing Your Location
Description: Dark skies are essential for clear star shots
Even the best camera can’t overcome light pollution. For stunning astrophotography, find:
- Remote areas – Mountains or deserts far from cities
- High altitudes – Thinner atmosphere means clearer stars
- Dark Sky Parks – Official areas certified for minimal light pollution
Some of the best places in the world:
- Atacama Desert, Chile – Dry, clear skies almost year-round
- Mauna Kea, Hawaii – High altitude and incredible clarity
- Tenerife, Canary Islands – Protected dark skies with breathtaking landscapes
- Jasper National Park, Canada – Stunning dark sky reserve with star trails
- Aoraki Mackenzie, New Zealand – Isolated with incredible southern hemisphere views
- Namib Desert, Namibia – Minimal pollution and dramatic desert foregrounds
- Norwegian Lapland – Northern lights opportunities and clear nights
- Scottish Highlands, UK – Rolling hills with low light interference
Step 4: Essential Gear Checklist
Description: Gear makes astrophotography easier and more precise
Aside from camera and lens, you’ll need:
- Sturdy tripod – Prevents camera shake during long exposures
- Remote shutter release – Reduces blur from pressing the shutter
- Star tracker (optional) – Tracks the rotation of the Earth for longer exposures
- Headlamp with red light – Preserves night vision
- Extra batteries – Cold nights drain power quickly
- Memory cards – Shoot in RAW to capture maximum detail
Optional but useful:
- Lens heater or hand warmers (prevent dew)
- Apps like Stellarium or PhotoPills for planning shoots
Step 5: Camera Settings for Beginners
Description: Start simple and build complexity gradually
Here’s a solid starting point:
- Mode: Manual
- Aperture: As wide as your lens allows (f/2.8 or lower)
- Shutter Speed: 15–30 seconds (use the 500 rule: 500 ÷ focal length = max seconds)
- ISO: 1600–6400 depending on camera performance
- Focus: Manual, set to infinity
Take test shots and adjust ISO and shutter speed based on your results. Don’t worry if the first shots are noisy—you’ll refine as you go.
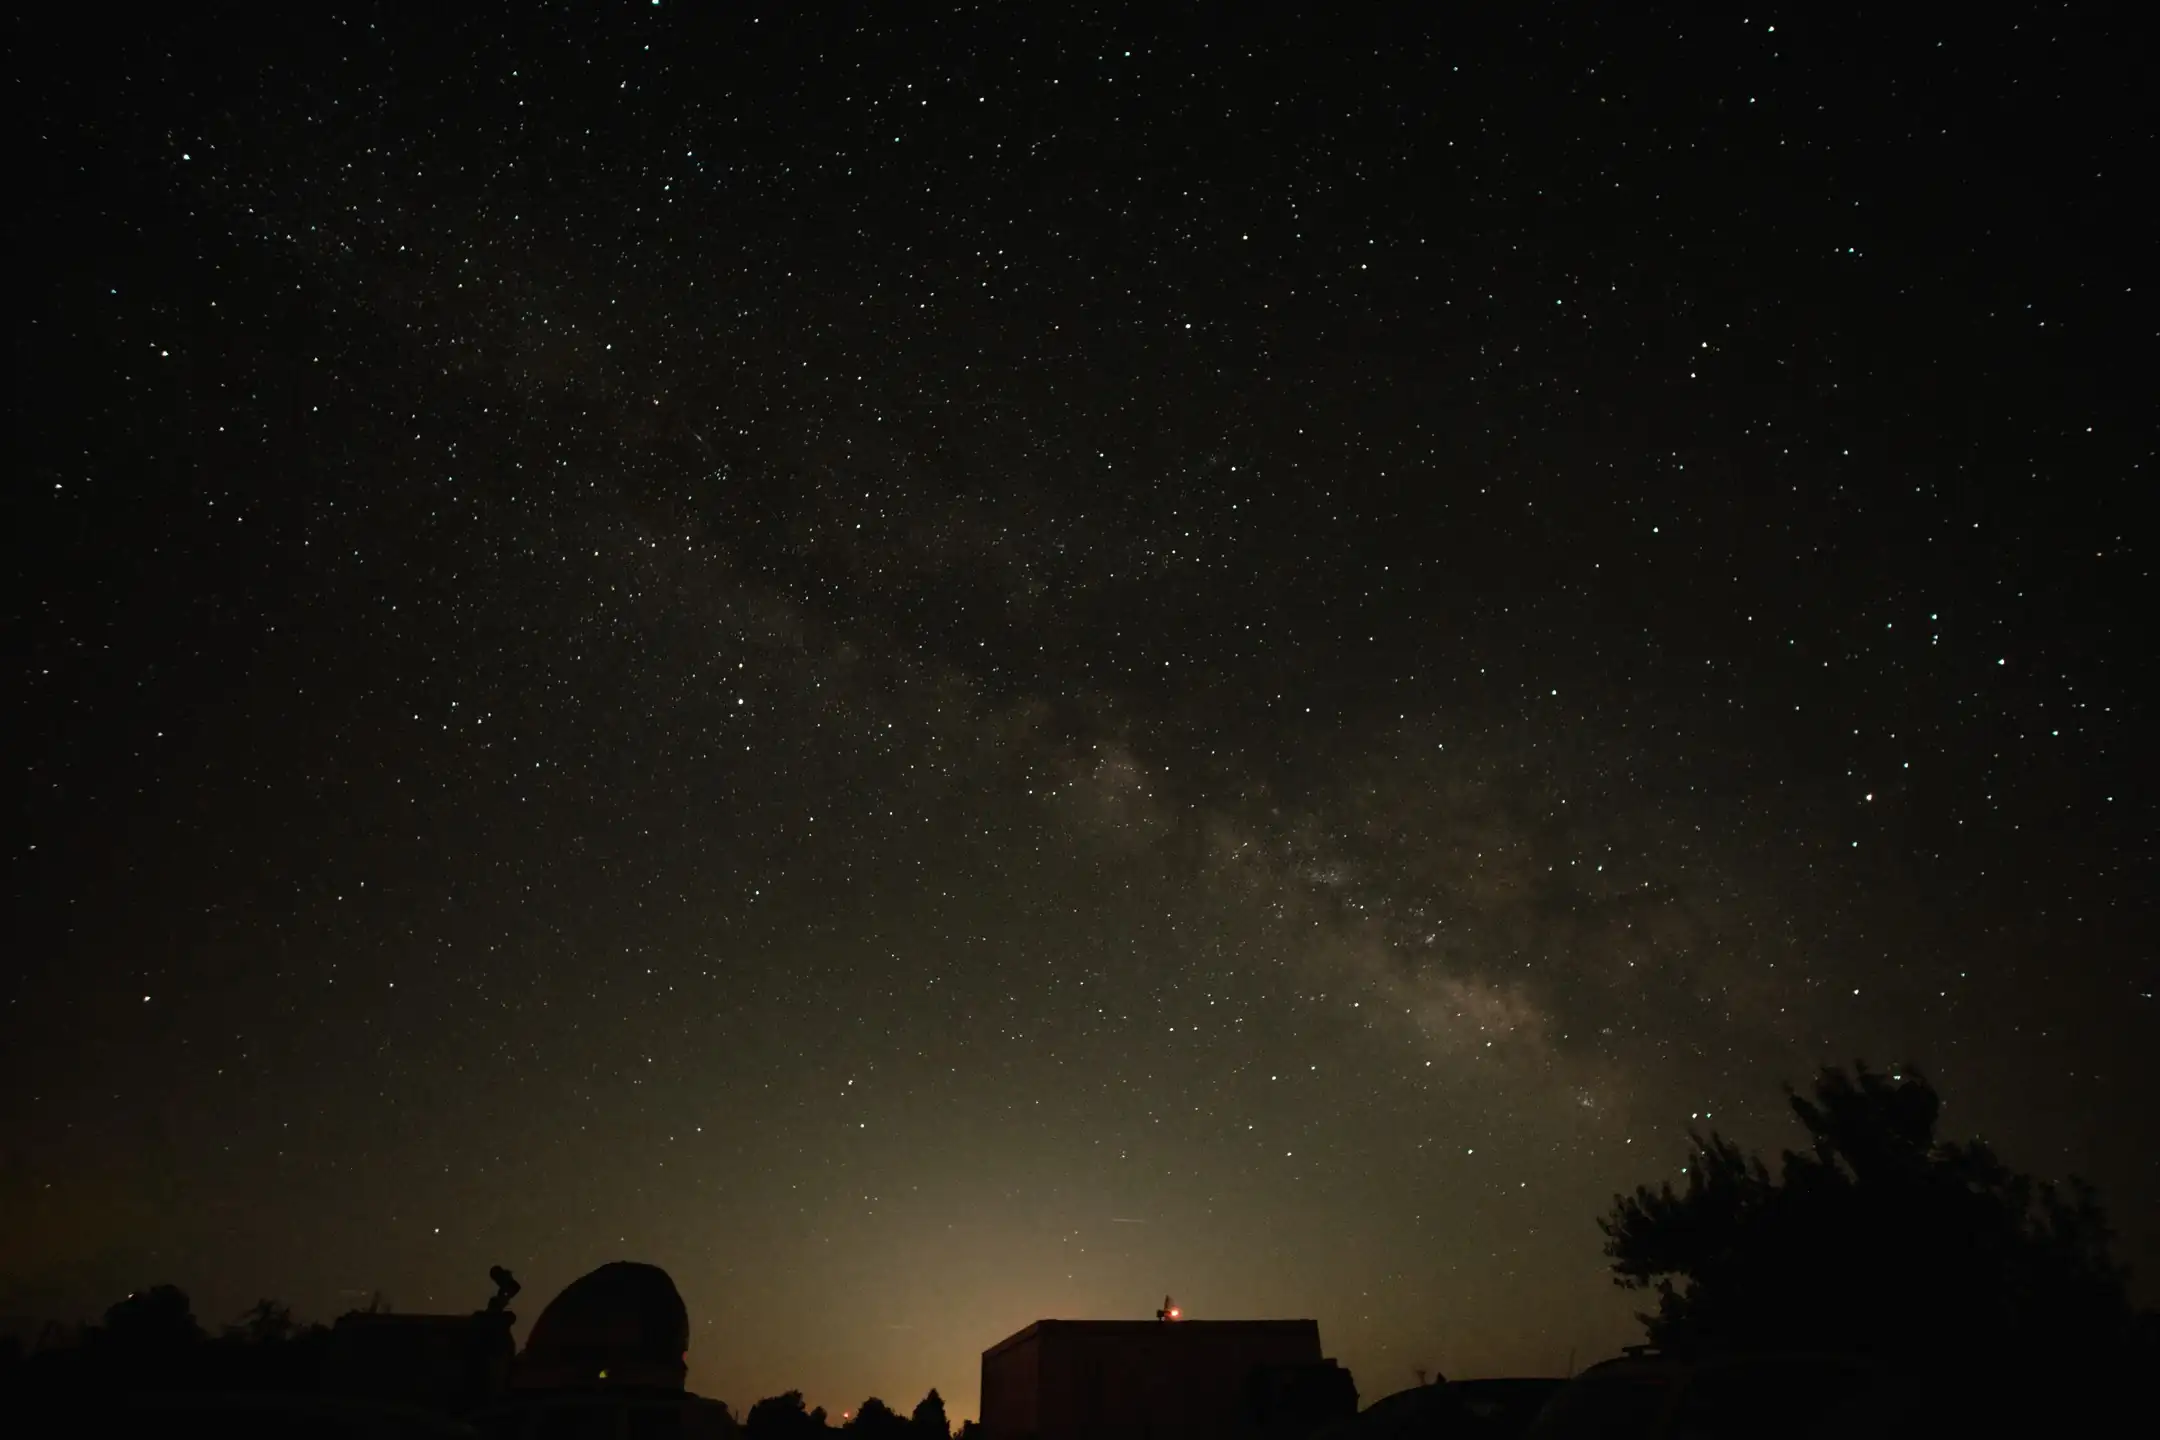
Step 6: Framing and Composition
Description: Compose images that tell a story
Astrophotography isn’t just about stars. Include foreground elements:
- Silhouettes of trees, mountains, or buildings
- Water reflections for mirror-like skies
- Leading lines to draw viewers into the scene
Use apps like PhotoPills to see where the Milky Way will rise. Planning the composition before the shoot saves a lot of frustration at night.
Step 7: Capturing the Shot
Description: Be patient and precise for crisp results
- Mount your camera securely on a tripod
- Set manual focus to infinity; zoom in on a bright star for precise focus
- Use a remote shutter release or camera timer to reduce shake
- Set aperture wide open (f/2.8 or f/2) for maximum light
- Start with ISO 3200–6400, adjust depending on noise performance
- Shutter speed 15–25 seconds for star points; longer with a star tracker
- Shoot in RAW for maximum editing flexibility
Pro tips for a nice shot:
- Include a striking foreground like a lone tree, mountain silhouette, or water reflection
- Use the Milky Way as the main subject for dramatic impact
- Capture multiple frames for stacking to reduce noise
- For star trails, experiment with 3–10 minute exposures or stacking many 30-second shots
- Scout your location in daylight to identify the best compositions
Step 8: Post-Processing
Description: Bring your night sky images to life
Post-processing is where your images truly shine. Recommended software:
- Adobe Lightroom – Adjust exposure, contrast, and color balance
- Adobe Photoshop – Stack multiple exposures to reduce noise
- Sequator (free) – Great for beginners stacking stars
Steps:
- Import RAW files
- Adjust white balance (cooler tones often look natural)
- Increase clarity and reduce noise
- Fine-tune colors to highlight the Milky Way
- Apply selective dodging and burning for foreground enhancement
Step 9: Keep Learning and Experimenting
Description: Practice is key to mastering night photography
Astrophotography is a journey. Experiment with:
- Star trails by using long exposures
- Time-lapses to show movement across the sky
- Different lenses and compositions
Join communities, share your work, and study professional photographers. Every night is a new opportunity.
Conclusion
Description: Master the art of photographing the stars
Astrophotography combines technical skill, patience, and artistic vision. With the right camera, lens, location, and workflow, anyone can capture the magic of the night sky. Start small, follow these steps, and you’ll soon create images that are not just photographs—they’re experiences of the universe.