Experiencing a solar eclipse is magical — and photographing one is a rare opportunity for any serious photographer. As a photographer and astronomy enthusiast, I’ll walk you through exactly how to plan and execute a successful solar eclipse shoot with a mirrorless camera. This guide will cover the gear you need (and alternatives), camera recommendations, preparation, safety, exposure strategies, and post-processing tips. Let’s dive in.
Why a Mirrorless Camera Is Ideal (and Some Caveats)
Mirrorless cameras offer several advantages for eclipse photography:
- Electronic viewfinder (EVF) or live view gives you a real-time preview of exposure, histogram, and focus without the risk of eye damage from an optical viewfinder.
- Silent or electronic shutter options can reduce vibration.
- Compactness and ease of mounting — many mirrorless bodies are lighter, making it simpler to balance heavy telephoto lenses.
- Focus magnification and peaking make fine manual focusing easier, especially on the sun’s edge.
However, the basic challenges remain: you need long focal length, a stable mount, and proper solar filtration (except during totality). Also be wary of heat buildup in your lens or sensor assemblies when pointing directly at the Sun for extended periods.
Before You Go: Planning, Scouting, and Safety
1. Research the Eclipse Path, Timing, and Weather
- Use reliable sources (like NASA’s eclipse maps) to know the path of totality (or annular/partial visibility in your location).
- Be aware of how many minutes of totality you’ll have (if any).
- Scout your location days ahead. Choose a spot with a good view, minimal obstructions, and a manageable horizon.
- Monitor weather forecasts. Clouds or haze can spoil results, so have backup sites in mind.
- Plan your shooting sequence — when to shoot wide, when to zoom in, when to bracket exposures.
2. Practice in Advance
- Practice photographing the Sun (on a normal day) with your planned setup (lens + solar filter), varying shutter speeds to find good exposure ranges.
- Time your transitions (filter on/off, bracket switching) so you can move quickly during the eclipse.
- Practice focusing manually on a distant object or sunspots (if visible) so you're not fumbling on the day.
3. Take Safety Seriously — for Your Eyes and Your Gear
- Use solar viewing glasses certified to ISO 12312-2 when looking at the sun, except during totality in a total eclipse.
- For the camera/lens, always use a proper solar filter during the partial phases, ideally a full-aperture solar filter that covers the front of the lens.
- Never place a solar filter at the rear of a lens or inside a filter slot on a large telephoto; it must cover the front element.
- Remove the filter only during totality (only if you're in the path of a total eclipse) — then put it back immediately after totality.
- Don’t leave your camera pointed at the sun longer than necessary — residual heat can damage sensors or internal components.
- Use the camera’s built-in live view or EVF; avoid using an optical viewfinder without solar filters.
!(eclipse_1.webp)[https://photo.recipes/static/blog/eclipse_1.webp]
Gear Checklist: What You’ll Need (and Nice to Have)
Mandatory Items
- Mirrorless camera body (with ability to set manual mode, RAW capture, and manual focus)
- Long telephoto lens or telescope / astro adapter — ideally in the 400 mm to 2000 mm equivalent range
- Full-aperture solar filter (e.g. Baader AstroSolar, Thousand Oaks, or similar certified filter)
- Sturdy tripod (or better, equatorial mount or motorized tracking mount)
- Remote shutter release or intervalometer (wired or wireless)
- Spare batteries and memory cards
- Lens hood and lens caps
- Black cloth or shading cover (to help see the screen under bright sunlight)
- Eclipse viewing glasses certified for direct viewing
- Lens / sensor cleaning kit
!(eclipse_2.webp)[https://photo.recipes/static/blog/eclipse_2.webp]
Highly Recommended or Optional Extras
- Teleconverter (1.4× or 2×) to extend your focal length — but only if optical quality allows
- Startracker or equatorial mount — to track the Sun’s motion and reduce panning
- Ball head or gimbal head optimized for long lenses
- Shade box or sunshade to block ambient light when composing
- Lens temperature sensor or thermal protection
- Laptop or tethering setup (if practical)
- Backup camera / lens
- Interval shooting program or scripting (if your camera allows it)
- Lens calibrations / test charts
Which Mirrorless Cameras Are Best (and Why)
What to Look For in a Mirrorless Body
- Good high-ISO performance / low noise, as you may need longer exposures during totality
- High dynamic range, so you can recover highlights and shadows in corona exposures
- Reliable battery life and heat management
- Fast and accurate live view / focus assist tools
- Compatibility with long telephoto lenses or astro adapters
- Support for long exposures and interval shooting
Recommended Models
- Sony α7R IV / α7R V — high resolution, excellent dynamic range
- Sony α7 III / IV — balanced performance and dynamic range
- Canon EOS R5 / R6 — good low-light performance, Canon RF telephoto lenses
- Fujifilm GFX 100 / 100S — medium format, superb image quality (but lens reach is a challenge)
- Nikon Z7 II / Z8 — good dynamic range, compatibility with Nikon Z long lenses
- Olympus / OM System OM-1 — compact and good image quality (but telephoto reach more constrained)
- Panasonic Lumix S1 / S5 — solid full-frame options
Focal Length and Framing Strategies
- For a full-frame body, staying below ~2000 mm is advised; for APS-C, around 1300 mm maximum.
- If your goal is to capture the corona (in a total eclipse), a somewhat shorter focal length helps ensure you capture the full corona without vignetting.
- Consider including wide shots with landscape or crowd context — they tell the story of the eclipse experience.
- Test teleconverters ahead of time — they may degrade sharpness.
- A tracking mount lets you maintain the Sun in the frame with minimal adjustments.
Exposure Strategy: How to Shoot Each Phase
Partial Phases
- Keep the solar filter on.
- Use aperture f/8–f/16, shutter speeds from 1/4000 s to 1/30 s.
- Shoot in RAW, use ISO 100–400, and bracket exposures.
- Lock focus at infinity and tape the ring.
- Use a remote shutter or timer.
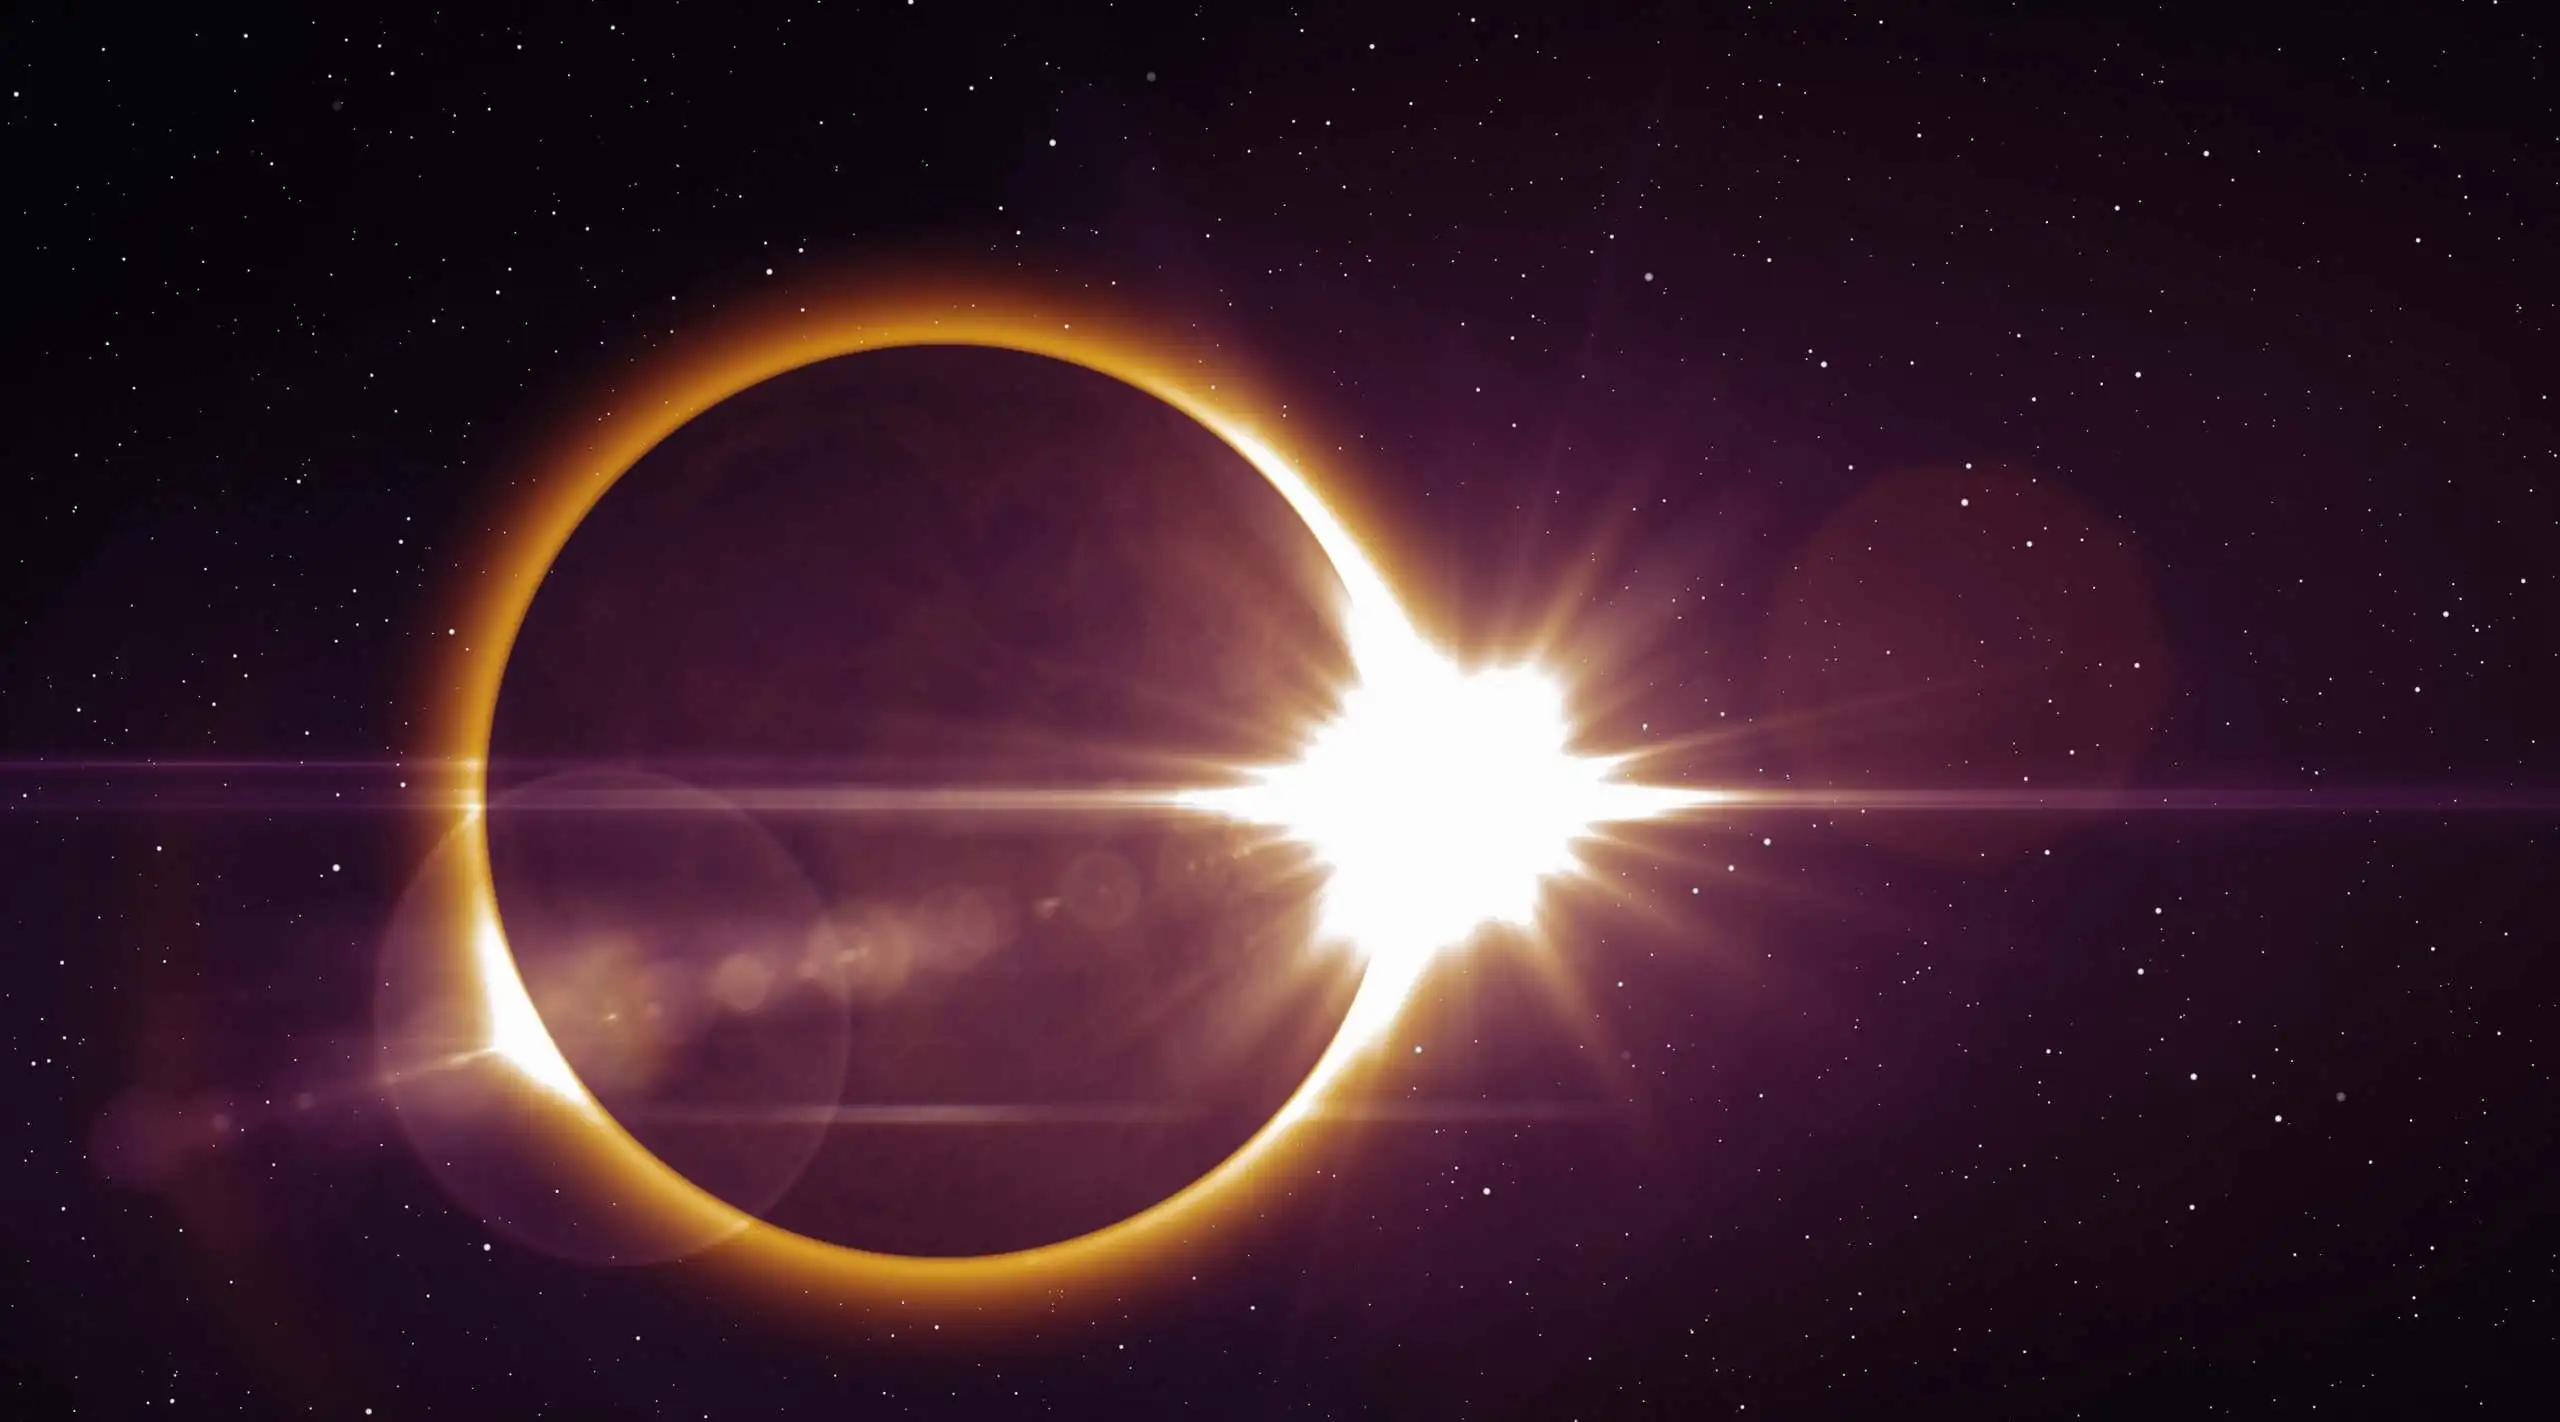
Totality
- Remove solar filter only at totality, replace immediately after.
- Aperture f/8–f/11, bracket shutter speeds from 1/1000 s up to 1 s.
- Capture a sequence covering bright prominences and faint corona.
- Take both telephoto close-ups and wide shots with landscape.
- Plan your shooting sequence in advance — totality lasts only minutes.
!(eclipse_3.webp)[https://photo.recipes/static/blog/eclipse_3.webp]
Summary Exposure Plan (Example)
| Phase | Aperture | Shutter speeds / bracket range | ISO range |
|---|---|---|---|
| Partial phases | f/8 to f/16 | 1/4000 → 1/30 | ISO 100–400 |
| Totality (first half) | f/8 to f/11 | 1/1000 → 1/125 | ISO 100–800 |
| Totality (later shots) | f/8 to f/11 | 1/60 → 1 s | ISO 100–1600 |
Composing, Tracking, and Focusing Tips
- Shoot in manual exposure mode.
- Monitor the histogram, not just previews.
- Use focus magnification / peaking in live view.
- Lock or tape your focus ring.
- Reframe periodically if not using a tracking mount.
- Include context shots (crowds, shadows, landscapes).
- Watch for lens creep and lock tripod adjustments.
- Consider interval shooting or preloaded sequences.
Post-Processing and Combining Bracketed Exposures
- Import RAWs into Lightroom, Capture One, or astrophotography tools.
- Align and stack exposures to reduce noise.
- Blend short and long exposures to reveal corona structure.
- Use gradient masks and local adjustments.
- Highlight prominences and solar details with dodge & burn.
- Choose color or B/W rendering.
- Use layering for wide + telephoto composites.
- Apply careful sharpening and noise reduction.
Common Pitfalls and How to Avoid Them
- Using the wrong filter placement.
- Looking through optical viewfinders without protection.
- Misfocused images.
- Overheating sensors/lenses.
- Missing transitions.
- Under-bracketing exposures.
- Ignoring histogram clipping.
- Running out of battery or storage.
Shooting Non-Total Eclipses (Annular or Partial)
- Keep the solar filter on the whole time.
- Focus on crescent shapes, environmental light, and shadows.
- Shoot wide as well as zoomed.
- Use time-lapse sequences to show progress.
Example Workflow for Eclipse Day
- Arrive early, set up tripod and camera with solar filter.
- Focus on the Sun, lock focus.
- Shoot bracketed exposures during partial phases.
- Remove filter at totality, shoot planned exposure sequence.
- Replace filter at end of totality.
- Resume partial-phase sequence.
- Switch to wide-angle for crowd/landscape shots.
- Monitor battery and storage.
Final Thoughts
- Shoot RAW and bracket — post-processing reveals the beauty.
- Preparation is everything — rehearse ahead of time.
- Safety first — protect your eyes and your gear.
- Tell a story — include the environment and people.
- Stay flexible — weather and conditions may surprise you.
With a mirrorless camera, the right lens, and careful planning, you can create unforgettable images of one of nature’s most extraordinary spectacles.