Introduction
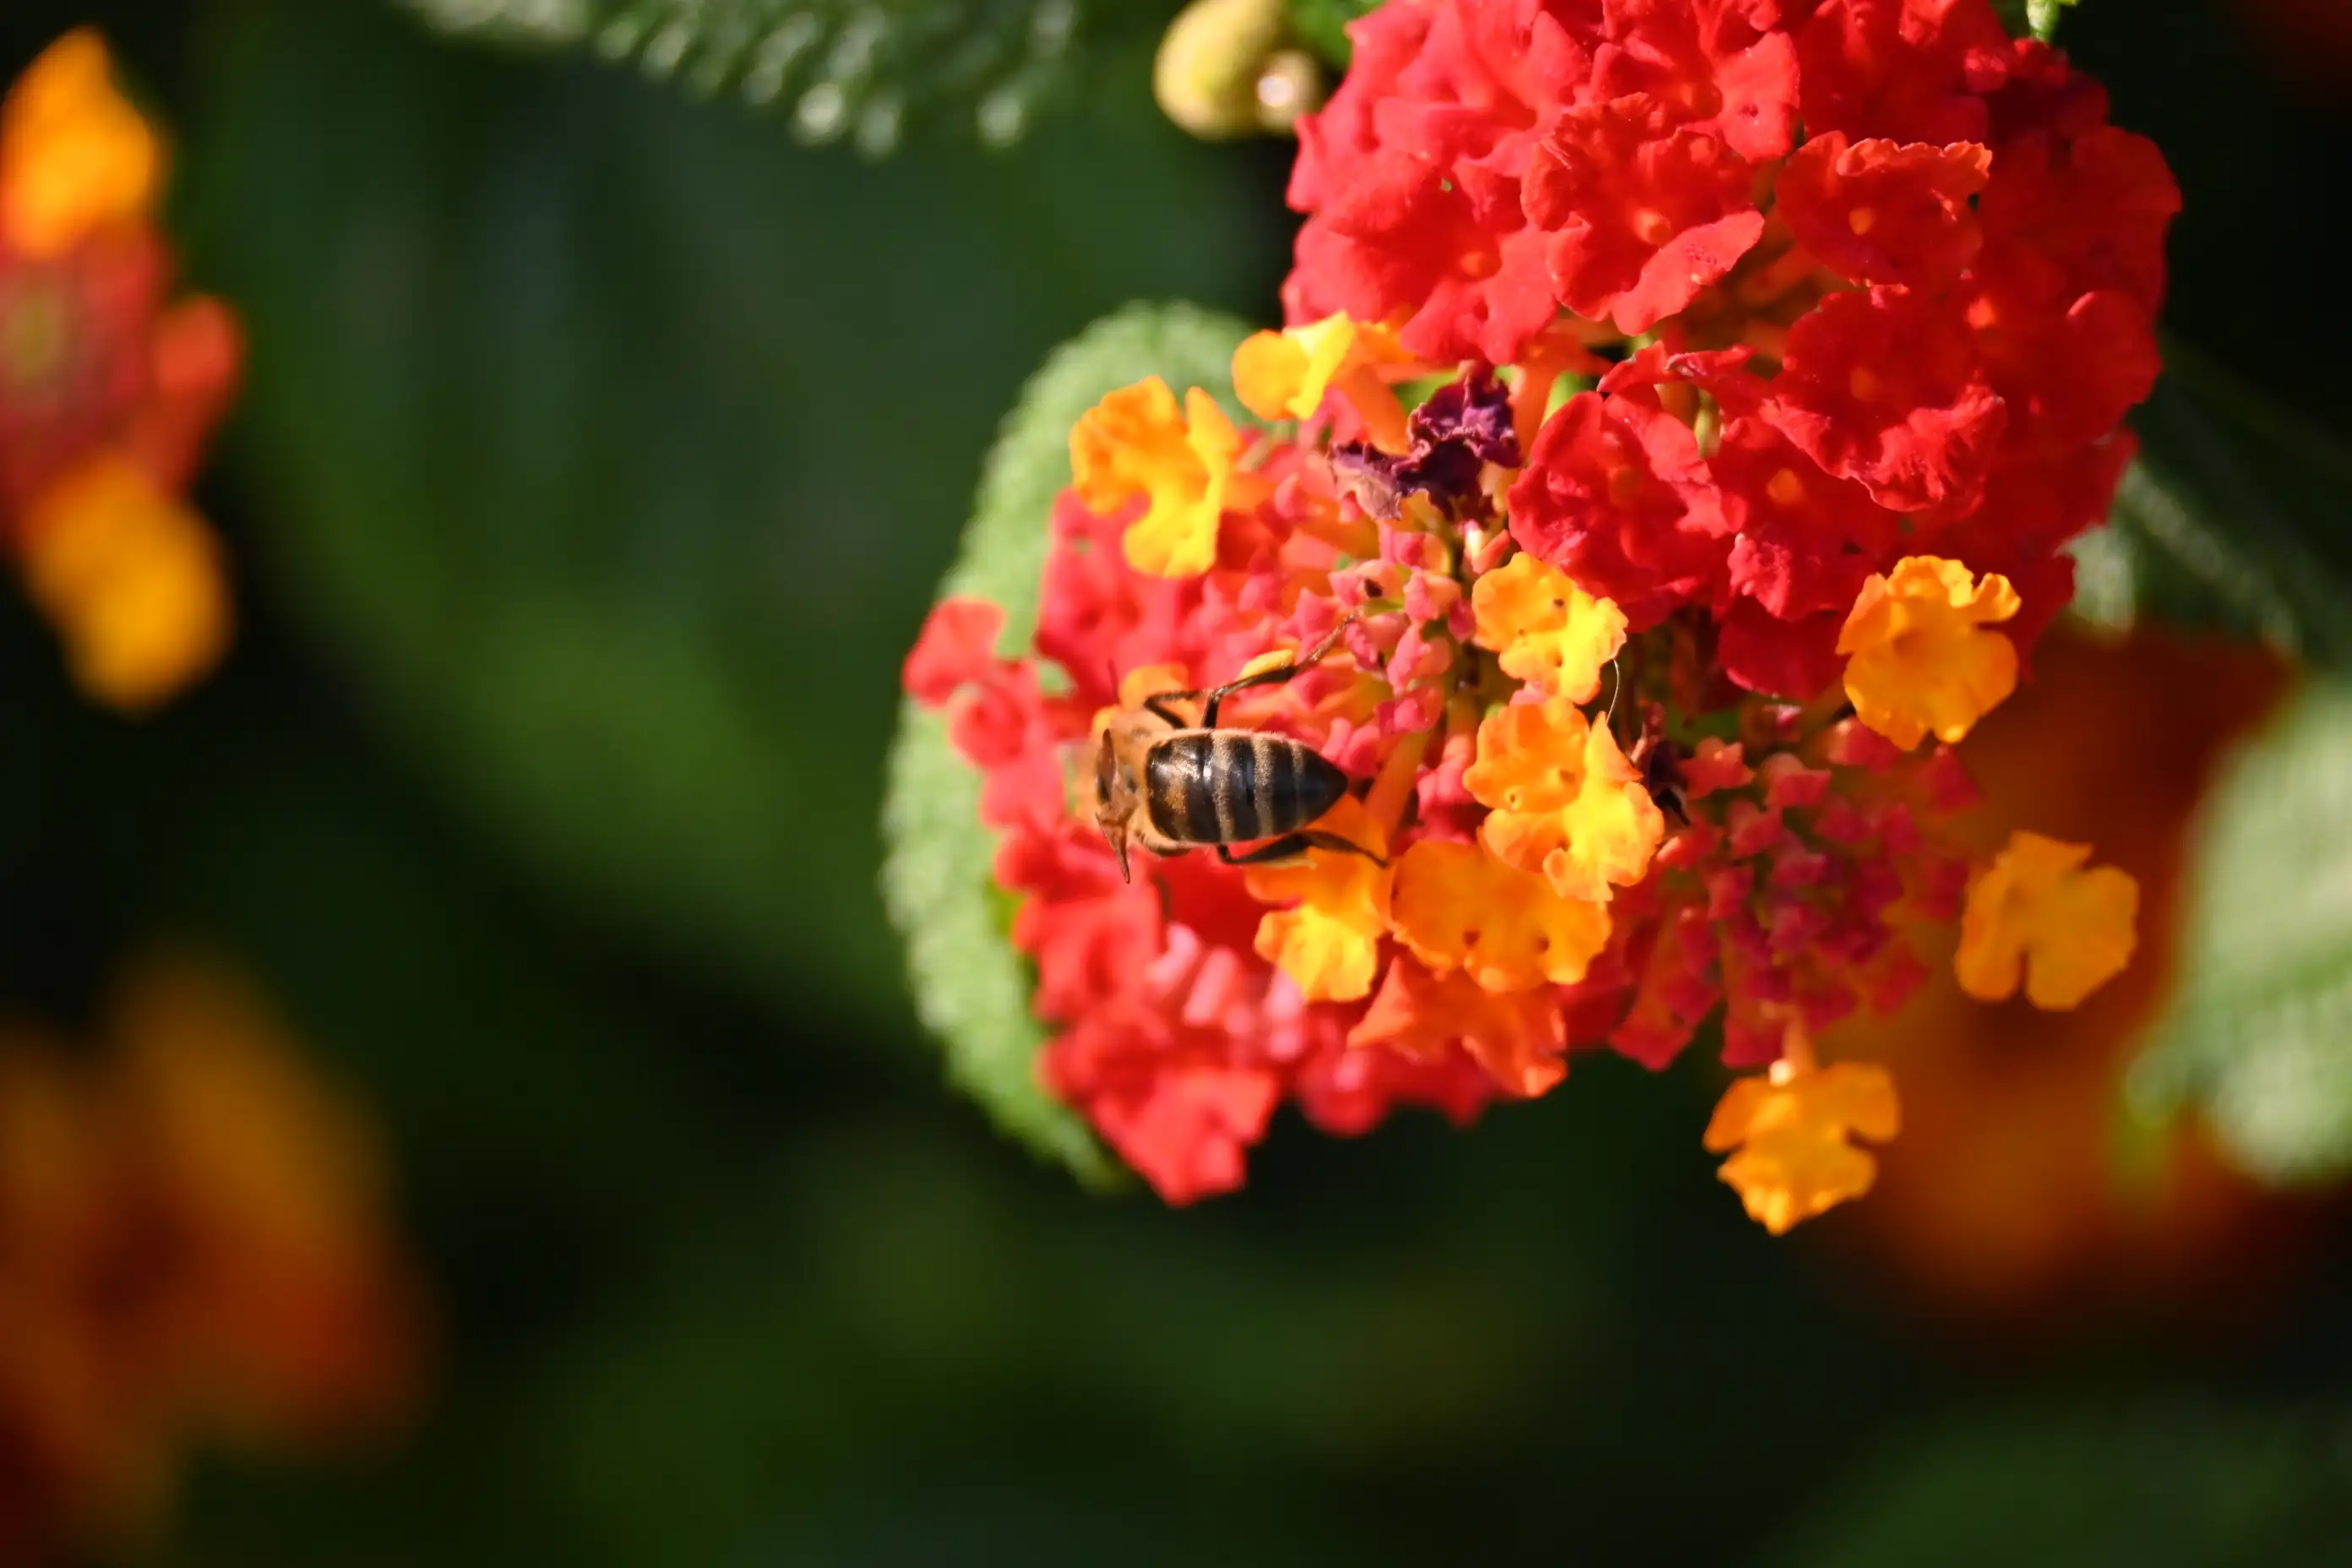
Macro photography opens a window into worlds we rarely notice — the iridescent shimmer of a dragonfly’s wing, the intricate pollen grains on a daisy’s stamen. But capturing these details requires more than just pointing a lens at your subject. It demands a careful balance of technical precision, creative vision, and equipment choice.
In this guide, we’ll explore:
- Optimal settings for photographing insects and flowers
- Creative techniques to elevate your macro work
- Full Frame vs. Micro Four Thirds sensor performance in macro contexts
- Curated resources for deeper learning
1. Fundamentals of Macro Photography for Insects and Flowers
Macro photography is defined by high magnification — often 1:1 life-size reproduction — where the subject appears on the sensor at its actual size. This extreme closeness introduces challenges:
- Shallow depth of field: Only a thin slice of the subject is in focus.
- Light loss: Narrow apertures needed for depth of field reduce available light.
- Subject movement: Even a breeze can blur a flower petal; insects rarely stay still.
1.1 Aperture (f-stop)
Depth of field is the biggest technical hurdle. For macro work:
- Insects:
- Stationary: f/11–f/16 for maximum sharpness across the subject.
- In-flight: f/8–f/11 to balance depth of field with faster shutter speeds.
- Flowers:
- Artistic bokeh: f/2.8–f/5.6 for dreamy backgrounds.
- Full detail: f/8–f/16 for sharpness across petals and stamens.
Narrow apertures (f/16–f/22) increase depth of field but risk diffraction softening — especially on smaller sensors.
1.2 Shutter Speed
Macro magnification amplifies motion blur. Recommended ranges:
- Handheld with flash: 1/200–1/250 sec (sync speed).
- Natural light: 1/250–1/500 sec for insects; 1/125–1/250 sec for flowers in still air.
- In-flight insects: 1/1000 sec or faster.
1.3 ISO
ISO choice balances noise against exposure needs:
- Bright daylight: ISO 100–400 for clean detail.
- Overcast or shaded: ISO 400–800.
- Low light with flash: ISO 100–200.
- No-flash insect shots: ISO 800–1600 (modern sensors handle this well with noise reduction).
2. Creative Techniques for Macro Photography
2.1 Lighting
- Natural light: Soft morning or late afternoon light reduces harsh shadows.
- Flash: Essential for high magnification; use diffusers to soften light.
- Reflectors: Bounce light into shadow areas for balanced exposure.
2.2 Composition
- Rule of thirds: Works well for flowers to create balance.
- Eye-level insect shots: Engage the viewer directly.
- Negative space: Isolate the subject against a blurred background.
2.3 Timing
- Insects: Early morning when they are sluggish and less likely to fly away.
- Flowers: Overcast days for even lighting and saturated colors.
2.4 Stability
- Tripod: Ideal for flowers or stationary insects.
- Monopod or handheld: Better for mobile insect work.
- Focus stacking: Combine multiple shots at different focus points for extended depth of field.
3. Full Frame vs. Micro Four Thirds in Macro Photography
Choosing between Full Frame (FF) and Micro Four Thirds (MFT) impacts depth of field, magnification, and low-light performance.
| Feature | Full Frame | Micro Four Thirds |
|---|---|---|
| Depth of Field | Shallower at same aperture — more background blur, harder to get full subject in focus | Greater depth of field at same aperture — easier to keep entire insect/flower sharp |
| Low-Light Performance | Superior — cleaner high ISO, better dynamic range | Good, but more noise at high ISO |
| Crop Factor | 1× — true focal length | 2× — doubles effective focal length, increasing subject fill without extra magnification |
| Lens Reach | Requires longer focal lengths for same framing | Shorter lenses achieve same framing — lighter, more portable |
| Diffraction Limits | Can stop down further before diffraction softening | Diffraction appears earlier (around f/11–f/13) |
Applications:
- Full Frame: Best for low-light macro, artistic shallow DOF, large prints with rich tonal range.
- MFT: Best for field macro of insects where depth of field and reach are priorities, and portability matters.
4. Recommended Settings Cheat Sheet
| Subject | Aperture | Shutter Speed | ISO | Notes |
|---|---|---|---|---|
| Stationary insect (tripod) | f/11–f/16 | 1/125–1/250 | 100–400 | Use flash or reflector |
| Insect in flight | f/8–f/11 | 1/1000+ | 400–800 | Natural light or high-speed flash |
| Flower (bokeh) | f/2.8–f/5.6 | 1/200–1/500 | 100–200 | Isolate subject |
| Flower (full detail) | f/8–f/16 | 1/125–1/250 | 100–400 | Tripod recommended |
5. Curated External Resources
For readers wanting to dive deeper, here are expert guides and tutorials:
- How to Photograph Insects Like a Pro – Digital Camera World
- Best Camera Settings for Macro Photography – Photography Life
- How to Photograph Flowers and Insects with a Macro Lens – Tamron
- Full Frame vs Micro Four Thirds in Macro Photography – DIY Photography
- Top Macro Photography Tips – Amateur Photographer
- Everything You Need to Know About Macro Photography – Photography Life
- Macro Photography Tutorials – Digital Photo Mentor
6. Final Thoughts
Macro photography is a blend of science and art. The science lies in mastering exposure, depth of field, and stability; the art emerges in how you compose, light, and time your shots. Whether you choose a Full Frame system for its tonal richness or a Micro Four Thirds setup for its depth of field and portability, the key is to practice relentlessly.
The miniature world is full of fleeting moments — a bee dusted with pollen, a dew-laden petal at dawn. With the right settings, techniques, and gear, you can capture these moments in all their intricate beauty.